
For those of you who don’t know me, I’m an artist who in recent years has been working in the discipline of drawing, specifically intuitive drawing. Look for my guide to intuitive drawing available soon on Amazon. More about that another time.
I’ve been asked by clients and other artists; how do you frame a drawing? I’m going to cover framing smaller drawings up to 16” x 20”. I put together a simple step-by-step guide on how I’ve framed drawings with links and recommendations. Now by all means this is not the end all be all, but a simple guide for you to follow. For a few extra bucks, consider a good professional framer or another artist who works in wood and/or metal to create a one-of-a-kind frame for your drawing. Well, I hope you find this useful.
Framing Drawings: A Step-by-Step Guide
Framing drawings is both an art and a science, requiring a keen eye for aesthetics and an understanding of the materials that best complement your artwork. Whether you’re a professional artist, a hobbyist, or someone who simply wants to preserve a cherished piece, framing can enhance the visual appeal and longevity of your drawing. In this guide, we will explore how to frame your drawings using high-quality framing materials.
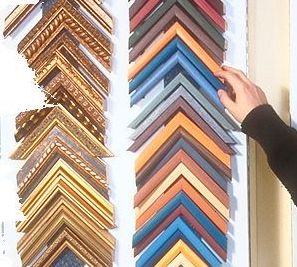
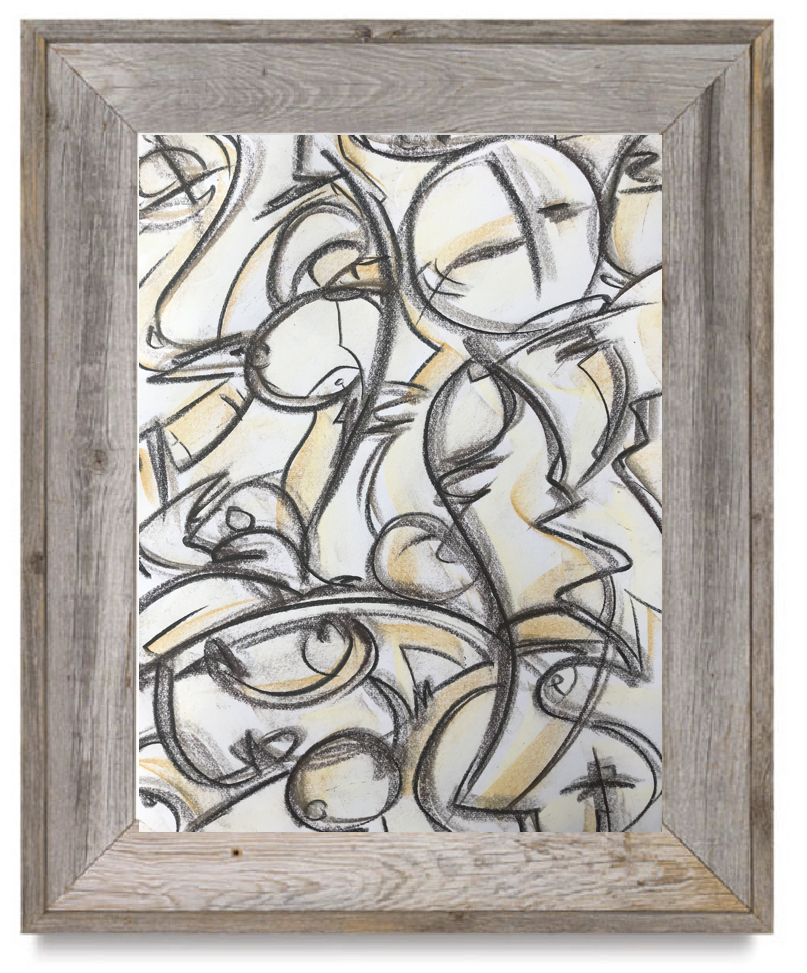
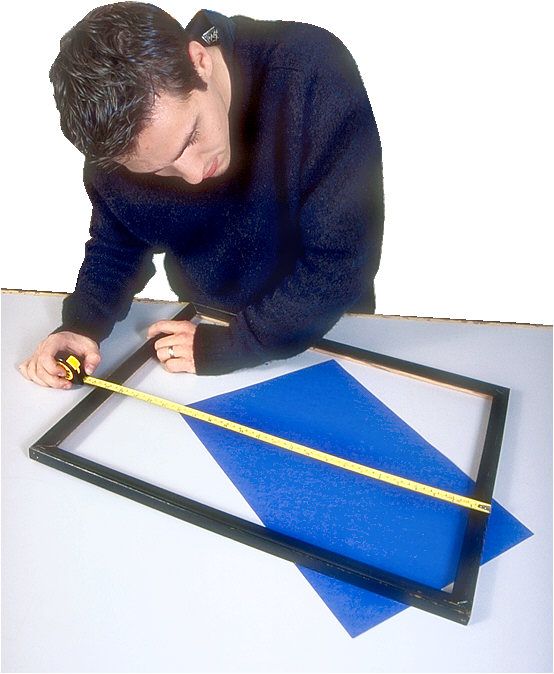
1. Selecting the Right Frame
The first step in framing your drawing is choosing the right frame. There is a wide variety of frames to suit different styles and needs.
Types of Frames:
- Wood Frames: These offer a classic, timeless look. The Blick Essentials Wood Gallery Frame is a great option, available in various finishes like black, white, and natural wood.
- Metal Frames: For a modern, sleek appearance, consider the Nielsen Bainbridge Metal Frame. These are durable and come in several colors.
- Custom Frames: If you have specific requirements, custom framing services allow you to choose the exact dimensions and materials.
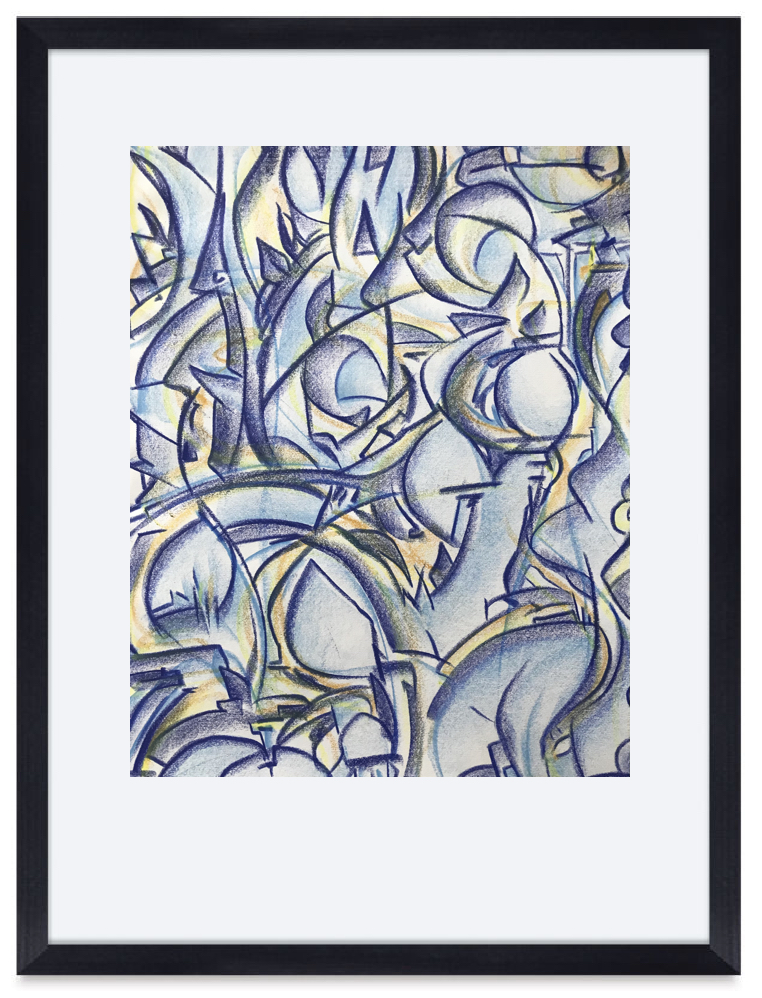
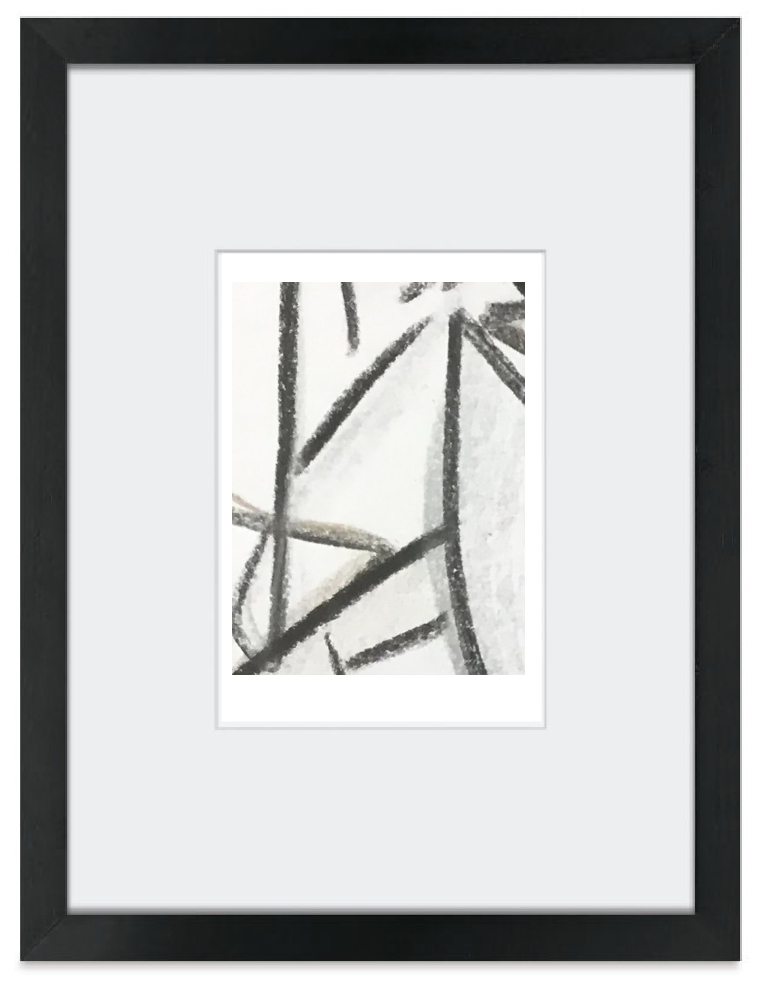
2. Choosing the Mat Boar
A mat board not only enhances the presentation of your drawing but also protects it by preventing direct contact with the glass.
Mat Board Options:
- Standard Mat Board: standard mat boards come in all different colors and sizes. I often use the Blick Studio Pre-Cut Mat. It’s a good quality mat that’s affordable and comes in all different varieties.
- Acid-Free Mat Board: For archival quality, I opt for the Crescent Select Conservation Solids Mat Board. These are acid-free and lignin-free, which ensures my drawing is protected from yellowing over time.
3. Mounting the Drawing
Proper mounting is crucial to keep your drawing flat and secure within the frame.
Mounting Techniques:
- Hinging: Use acid-free hinging tape, such as Lineco Acid-Free Hinging Tape, to attach your drawing to the mat board. This method is reversible, preserving the integrity of your artwork.
- Dry Mounting: For a more permanent solution, consider using a dry mount adhesive, like the Bienfang Archival Dry Mount Tissue. This requires a heat press, which may be more suitable for professionals.
4. Assembling the Frame
Once you have your frame, mat board, and mounted drawing, it’s time to assemble everything.
Steps to Assemble:
- Clean the Glass: Ensure the glass is spotless using a microfiber cloth to remove any dust or fingerprints.
- Position the Mat and Drawing: Place your mounted drawing on the mat board, ensuring it is centered and aligned.
- Insert into the Frame: Carefully place the mat and drawing into the frame, followed by the backing board.
- Secure the Backing: Use the frame’s clips or tabs to secure the backing in place. If your frame does not come with these, you can use framing points or clips.
5. Final Touches
After assembling your frame, there are a few final touches to ensure your drawing is ready for display.
Hanging Hardware:
- D-Rings and Wire: For a secure hanging method, use D-rings and picture hanging wire, such as the OOK Professional Picture Hanging Wire.
- Bumpers: To protect your wall and ensure your frame hangs straight, apply small adhesive bumpers to the bottom corners of the frame.
Framing a drawing is a rewarding process that can significantly enhance the presentation and preservation of your artwork. By selecting high-quality frames, mat boards, and mounting materials, you can ensure your drawings are showcased in the best possible light. Whether you prefer the classic elegance of a wood frame or the contemporary style of a metal frame, the right combination of materials and techniques will make your artwork shine.
Happy framing!
©2024 Ronald Gross